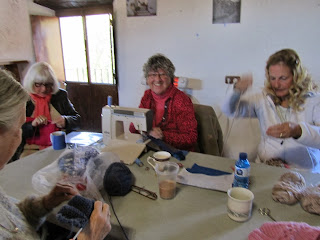
Alongside Christine's Row-by-Row workshop this week, a further six group members were taught the basics of Silk Ribbon Embroidery by Elle Smith in a separate workshop
Elle has just become the sole distributor in Spain for Di van Niekerk silk ribbon products, from the absolutely gorgeous hand painted silk ribbons, to the pre-printed panels ready to be embellished and stitched. So we were really lucky to see these products in all their glorious colour, up close and personal as Elle brought them with her to the workshop.
Just a small selection of the Di van Niekerk silk ribbons
Elle began her workshop by providing us with a kit which included absolutely everything we needed to make a sampler picture, including a pre printed panel of fuschias. Also included was a cheap stretched artist canvas which Elle showed us how to adapt by cutting out the middle of the canvas, (hence the need for cheap, in case you wondered!) on to which we then pinned and stretched our backing fabric and panel ready for stitching.
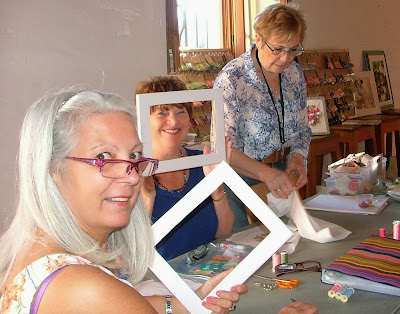
Me, Yvonne and Vanessa with our adapted frames,
Sue and Jan
Vanessa, Jacqueline and Elle
We then began by wrapping wire with some of the provided silk ribbon to make a flower stem, which was then couched down to the panel. By lunchtime we had worked other stems in chain stitch, wrapped these in ribbon, and worked the leaves and were ready to attach and make 3D flower buds when we re-started.
Elle explaining to Jacqueline how to make the buds, with Vanessa left.
To see some of Elle's silk ribbon work, head over to her gallery pages HERE
The girls taking part in the Row-by-Row workshop with Christine, have moved on to the next row of their projects and have been sewing long strips together ready to be crosscut at an angle then rejoined to make a striking pattern.
Christine having a pre class chat about the next stage that participants will be working on
Jill cross-cutting her strips
Cath and Chris
Cath's top row completed
Elsewhere in the hall, Kath showed us her completed seasonal wall hangings, then laid out her latest quilt project and bought wadding ready for the next stage of sandwiching the top with the wadding and backing fabric, before tackling the quilting.
Yvonne too, showed us her seasonal wall hanging, made as a class sample for her Friday evening group in Nerja.
Before closing this week, I must thank Cath for taking some of these photos for me this week, as I was taking part in Elle's class and really needed to concentrate on what I was doing. Many apologies to the other Group members who were at yesterday's meeting, for not getting around to seeing you or getting photos of what you were working on, but Cath too was taking part in a workshop so didn't have much spare time either.
I also want to mention our Viñuela Sew & Sews web site, which has a new video on the home page this week, showing a very clever way to join quilt-as-you-go blocks. I know I will be using this technique in the future, and I am sure many of the quilters in our group will find this tutorial useful. So grab a cuppa and watch
HERE. While you are over in the website, why not click on the image in the
centre of the home page, to take a look at the project just completed by regular members of our sister group, Diversity. I hope you will find the different pieces of work interesting, and enjoy reading about how they were made. This group met yesterday to begin work on their next venture. A project called "The Journey". Their progress is available to read on their own blog, and can be accessed
HERE.
Thanks for dropping by, see you next time,
Rachel


+-+Copy.JPG)


